
Sourdough Starter Recipe: How to Cultivate Bubbles and Flavor in 8 Days Recipe
Introduction
Creating your own sourdough starter is a rewarding process that brings natural fermentation into your baking. This simple recipe guides you through transforming just flour and water into a bubbly, lively starter ready to leaven delicious bread.
Ingredients
- 60 grams (about ¼ cup) all-purpose flour
- 60 grams (about ¼ cup) filtered water
Instructions
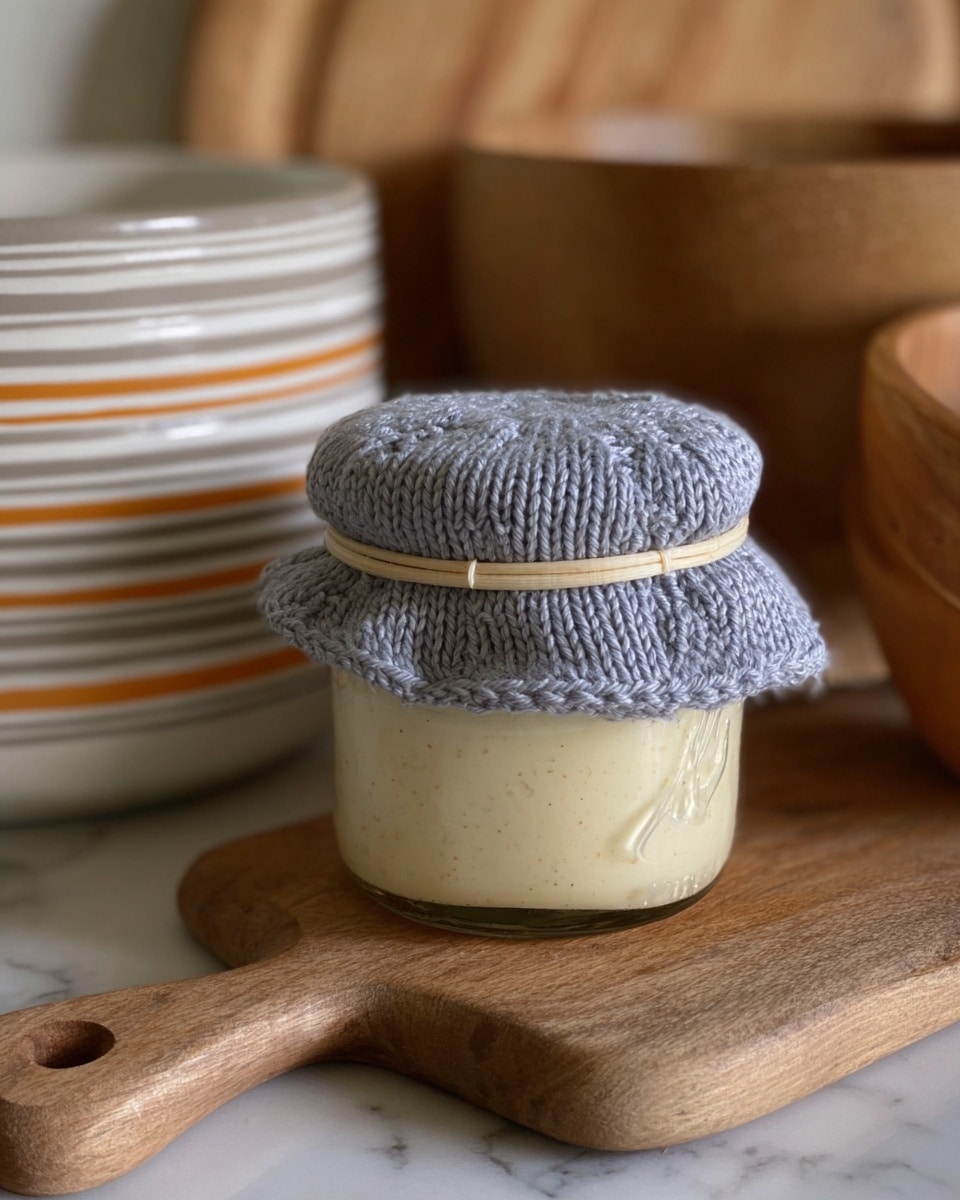
- Step 1: Combine 60 grams of flour and 60 grams of filtered water in a jar. Stir until no dry flour remains. Cover the jar loosely with a lid or cheesecloth to allow airflow while keeping out dust. Place in a warm spot and leave undisturbed for 24 hours.
- Step 2: On day two, discard half the mixture. Feed the remaining starter with 60 grams of flour and 60 grams of water. Stir thoroughly and return to the warm spot for another 24 hours.
- Step 3: Repeat the discard and feed routine daily on days 3, 4, and 5, maintaining the 24-hour intervals.
- Step 4: On days 6 and 7, continue discarding half and feeding the starter but shift to feeding every 12 hours. Keep the jar in the warm spot to encourage fermentation.
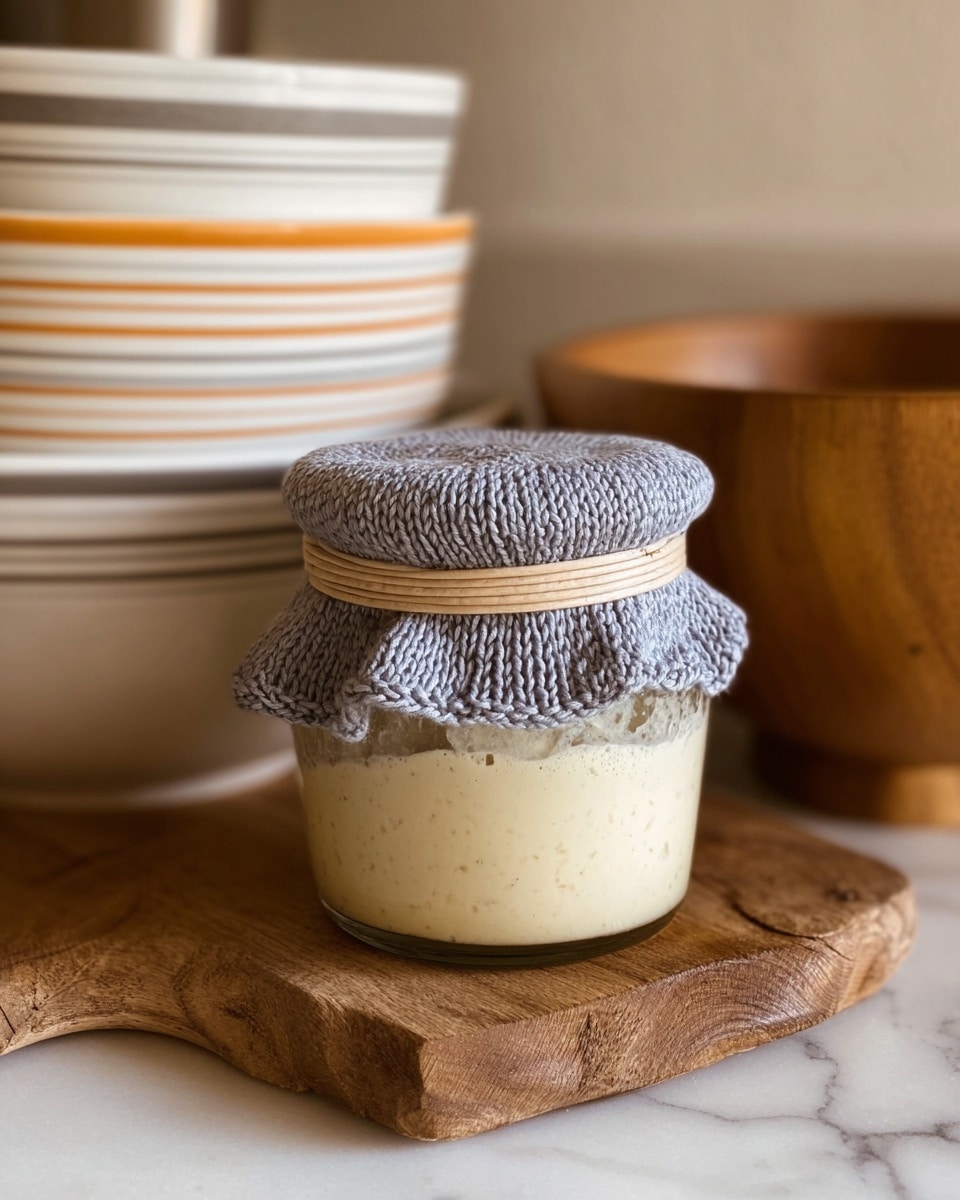
- Step 5: By day 8, the starter should be bubbly and active. Test readiness by dropping a spoonful into cold water; if it floats, your starter is ready for baking.
Tips & Variations
- Use filtered or dechlorinated water to help encourage healthy fermentation.
- Maintain a steady warm temperature around 70-75°F (21-24°C) for best results.
- If flour is unavailable in grams, use a kitchen scale for accuracy or ¼ cup by volume as a rough equivalent.
- Once mature, you can store your starter in the refrigerator and feed it weekly if not baking regularly.
Storage
After your starter is fully active, you can store it in the refrigerator to slow fermentation. Feed it once a week by discarding half and adding fresh flour and water. When ready to bake, bring it to room temperature and feed it a couple of times to reactivate.
How to Serve
Serve this delicious recipe with your favorite sides.
FAQs
How do I know if my starter is healthy?
A healthy sourdough starter should be bubbly, have a pleasant sour smell, and double in size within a few hours of feeding. It should float in water when it’s ready to use for baking.
What if my starter smells bad or grows mold?
If your starter develops an off-putting smell like rotten or shows mold growth, discard it and start fresh. Maintaining cleanliness and feeding regularly helps prevent spoilage.
Print
Sourdough Starter Recipe: How to Cultivate Bubbles and Flavor in 8 Days Recipe
- Total Time: 192 hours (8 days)
- Yield: Approximately 1 cup of active sourdough starter 1x
- Diet: Vegetarian
Description
This Sourdough Starter recipe guides you through the essential process of creating a bubbly and active sourdough starter using just all-purpose flour and filtered water over the course of 8 days. It involves regular feeding and discarding to cultivate the natural yeast and bacteria needed for homemade sourdough bread, providing a natural leavening agent with rich flavors and excellent baking performance.
Ingredients
Starter Ingredients
- 60 grams (about ¼ cup) all-purpose flour
- 60 grams (about ¼ cup) filtered water
Instructions
- Initial Mixing: Combine 60 grams (about ¼ cup) of all-purpose flour and 60 grams (about ¼ cup) of filtered water in a jar. Stir thoroughly until no dry flour remains. Loosely cover the jar with a lid or cheesecloth to allow airflow while keeping out dust. Place the jar in a warm spot and let it rest undisturbed for 24 hours.
- Day 2 Feeding: Discard half of the starter mixture from day one. Feed the remaining starter with 60 grams (about ¼ cup) of all-purpose flour and 60 grams (about ¼ cup) of filtered water. Stir until fully combined and no dry flour remains. Place it back in the warm spot and leave it for another 24 hours.
- Days 3 to 5 Feeding: Each day, discard half of the starter and feed with 60 grams flour and 60 grams water. Stir well and keep in a warm place for 24 hours before the next feeding.
- Days 6 and 7 Twice-Daily Feedings: Repeat the discard and feeding process as before, but perform the feedings every 12 hours instead of every 24 hours. Continue to keep the jar in a consistently warm environment to encourage growth.
- Testing Readiness on Day 8: Your sourdough starter should be bubbly and active now. To test readiness, drop a spoonful of starter into a bowl of cold water. If it floats, the starter is ready to be used for baking sourdough bread.
Notes
- Consistent temperature is key; aim for a warm spot around 70-75°F (21-24°C).
- Using filtered water avoids chlorine, which can inhibit yeast growth.
- Discarding half the starter at each feeding controls acidity and prevents overgrowth.
- Feedings every 12 hours from day 6 onward help establish a strong, vigorous starter.
- The floating test is a reliable indicator of sufficient yeast activity for baking.
- Once active, maintain the starter with regular feedings or store in the refrigerator.
- Prep Time: 10 minutes each feeding
- Cook Time: 0 minutes
- Category: Baking
- Method: No-Cook
- Cuisine: Universal
Keywords: sourdough starter, natural yeast, bread starter, sourdough culture, baking, fermented dough


