
Sugar Cookie Icing That Hardens Recipe
Introduction
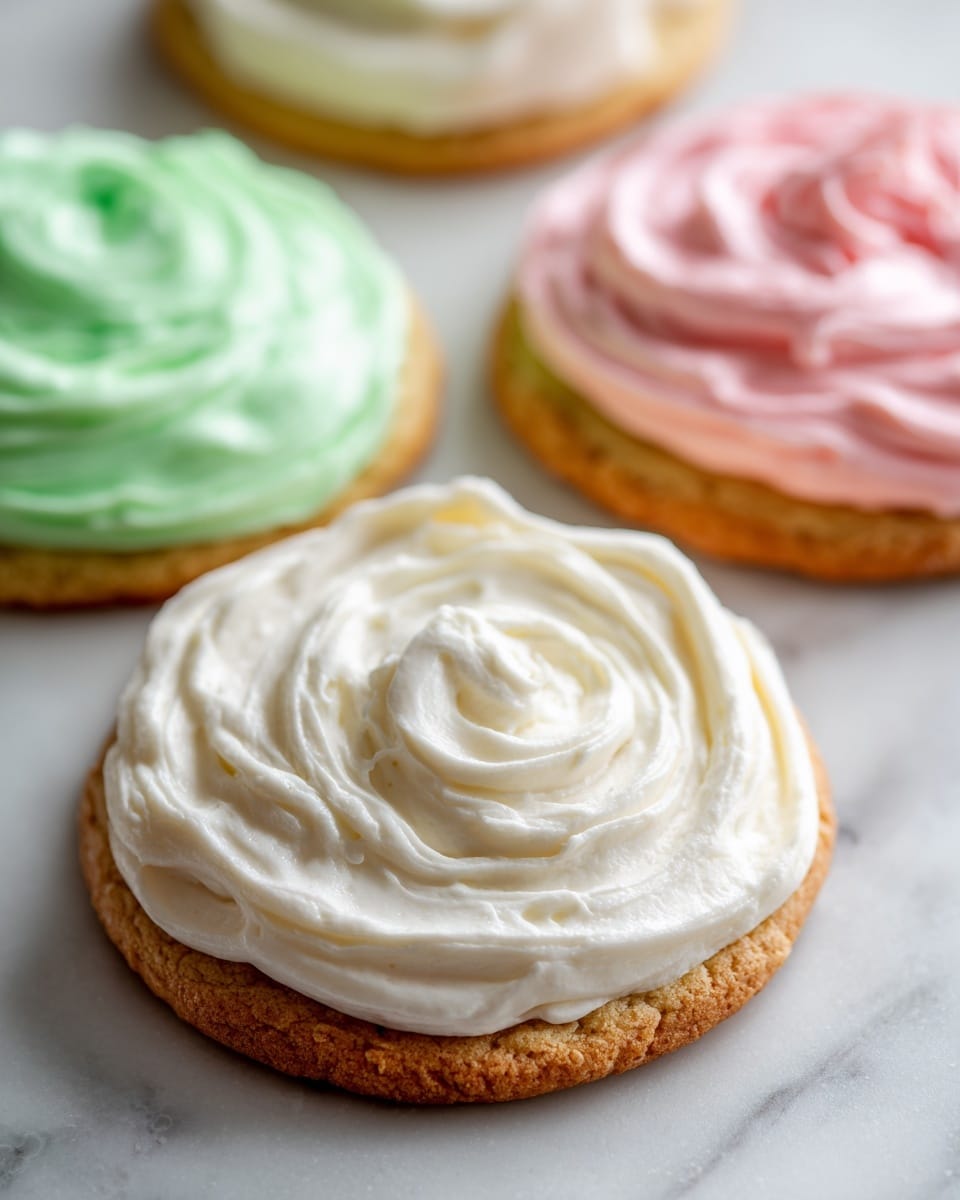
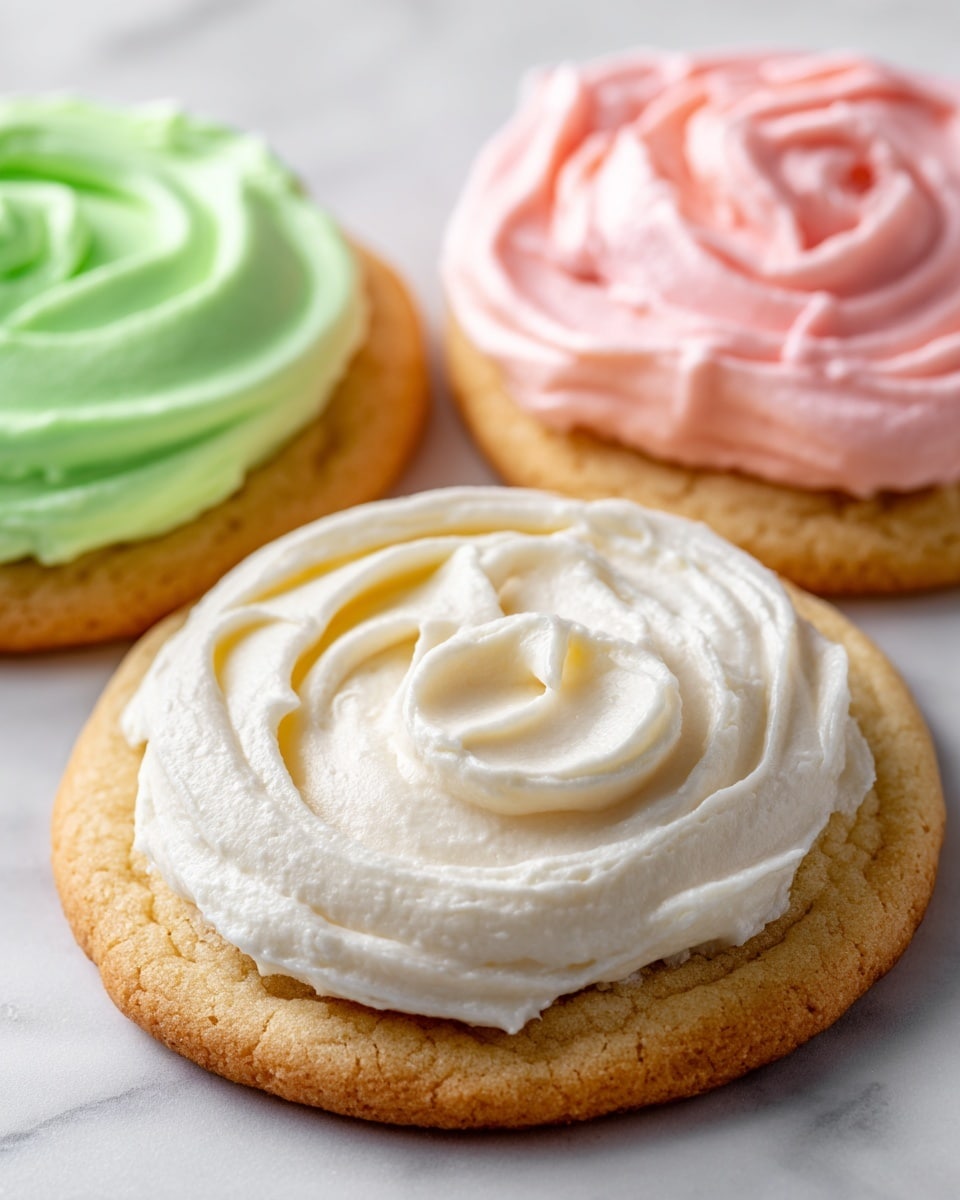
This sugar cookie icing recipe creates a smooth, glossy finish that hardens perfectly, making your decorated treats ideal for stacking and gifting. It’s quick to make and easy to customize with your favorite colors.
Ingredients
- 2 cups powdered sugar (sifted)
- 2 to 3 tablespoons milk or water
- 1 tablespoon light corn syrup
- 1/2 teaspoon vanilla extract
- Gel food coloring (optional)
Instructions
- Step 1: Sift the powdered sugar into a medium bowl to remove any clumps.
- Step 2: Add 2 tablespoons of milk or water, corn syrup, and vanilla extract. Whisk until the mixture is smooth.
- Step 3: Adjust the icing consistency by adding more milk to thin it or more powdered sugar to thicken it, depending on your needs.
- Step 4: Divide the icing into separate bowls if using multiple colors, then tint each with gel food coloring as desired.
- Step 5: Use the thicker icing for outlining your cookies and thinner icing for flooding the interiors.
- Step 6: Decorate your cookies using piping bags or spoons to apply the icing.
- Step 7: Allow the iced cookies to dry completely at room temperature for 6 to 12 hours to ensure the icing hardens.
Tips & Variations
- For more vibrant colors, use gel food coloring instead of liquid to avoid thinning the icing.
- If your icing becomes too thick after drying, stir in a few drops of milk to rehydrate before reuse.
- To make the vanilla flavor more pronounced, substitute it with almond or lemon extract.
Storage
Store any leftover icing in an airtight container in the refrigerator for up to one week. Before using it again, stir well and add a small amount of milk to restore the desired consistency.
How to Serve
Serve this delicious recipe with your favorite sides.
FAQs
Can I use water instead of milk in this icing?
Yes, you can substitute milk with water for a dairy-free option. Water will work just as well but the flavor might be slightly less rich.
How long does it take for the icing to harden on cookies?
The icing typically takes 6 to 12 hours to dry and harden completely at room temperature, depending on humidity and thickness of the layer.
Print
Sugar Cookie Icing That Hardens Recipe
- Total Time: 10 minutes
- Yield: 24 servings 1x
Description
This classic sugar cookie icing recipe creates a smooth, glossy coating that hardens perfectly for beautifully decorated cookies. Made with simple pantry ingredients like powdered sugar, milk or water, corn syrup, and vanilla extract, this icing is easy to prepare and customize with gel food coloring. It’s ideal for piping detailed outlines and flooding cookie surfaces, drying to a firm finish that allows cookies to be stacked or wrapped without smudging.
Ingredients
Dry Ingredients
- 2 cups powdered sugar, sifted
Wet Ingredients
- 2 to 3 tablespoons milk or water
- 1 tablespoon light corn syrup
- 1/2 teaspoon vanilla extract
Optional
- Gel food coloring, as desired
Instructions
- Sift the powdered sugar: Sift 2 cups of powdered sugar into a medium bowl to remove any clumps, ensuring a smooth and lump-free icing base.
- Add liquid ingredients and mix: Add 2 tablespoons of milk or water, 1 tablespoon of light corn syrup, and 1/2 teaspoon of vanilla extract to the sifted sugar. Whisk the mixture thoroughly until it becomes smooth and glossy.
- Adjust icing consistency: Check the thickness of the icing and add more milk or powdered sugar if needed to reach the desired consistency. Thicker icing is better for detailed piping while thinner is ideal for flooding cookie surfaces.
- Color your icing: Divide the icing into separate bowls if using multiple colors and tint each portion with gel food coloring to achieve vibrant hues.
- Decorate your cookies: Use piping bags or spoons to apply the icing to cookies. Use the thicker icing for outlining shapes and the thinner icing for flooding the areas inside the outlines.
- Allow icing to dry: Let the decorated cookies dry completely at room temperature for 6 to 12 hours. This hardens the icing so the cookies become stackable without smudging.
- Store leftover icing: Place any leftover icing into an airtight container and refrigerate for up to one week to preserve freshness.
- Rehydrate before reuse: When ready to use leftover icing, stir it well and add a little milk or water to return it to the appropriate consistency.
- Enjoy your decorated cookies: Once dry, your beautifully iced, stackable cookies are ready to serve, share, or gift.
Notes
- Sifting powdered sugar is crucial to avoid lumps in the icing.
- Use gel food coloring for vibrant colors without thinning your icing.
- Adjust the icing thickness depending on your decoration technique.
- Allow enough drying time to ensure a firm finish that won’t smudge or stick.
- Store leftover icing properly to prolong usability.
- Prep Time: 10 minutes
- Cook Time: 0 minutes
- Category: Dessert Topping
- Method: No-Cook
- Cuisine: American
Keywords: sugar cookie icing, royal icing alternative, hardening icing, cookie decorating, sugar cookie decoration

