
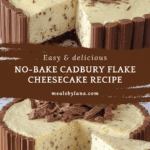
Easy Flake Chocolate No-Bake Cheesecake Recipe
Introduction
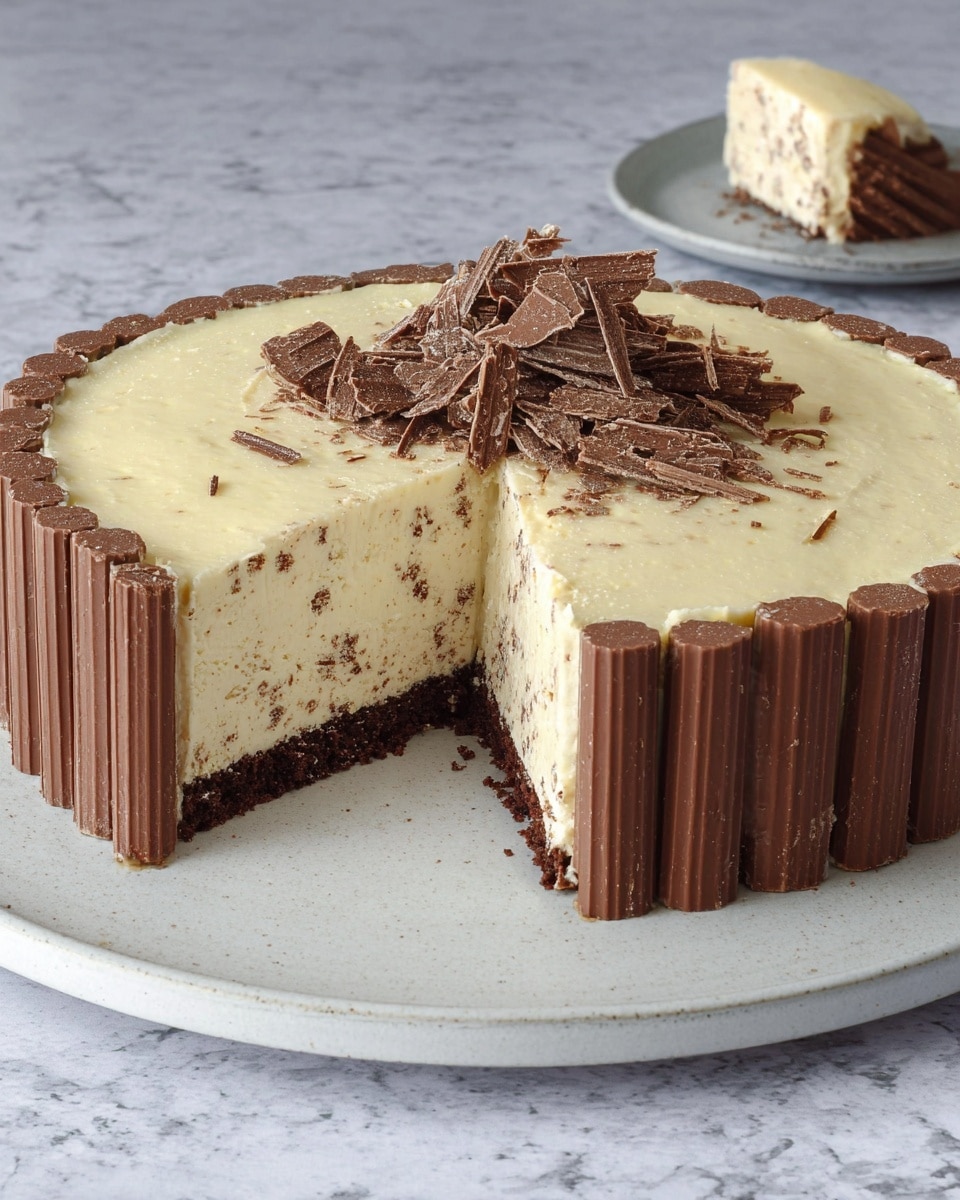
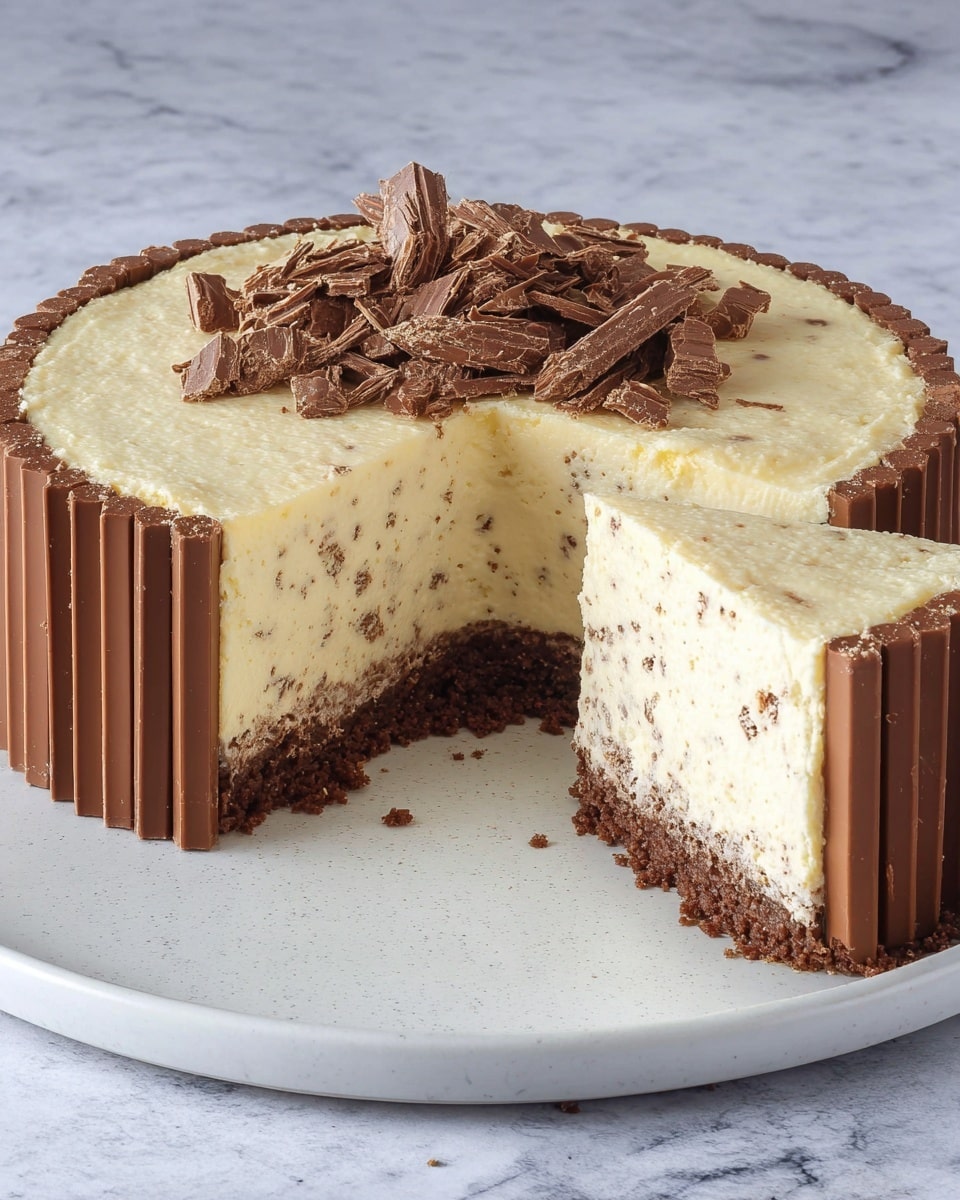
This easy Flake cheesecake is a no-bake delight featuring a choc ripple biscuit base and treat-sized Cadbury Flake bars. It’s a showstopper dessert that’s simple enough for anyone to make, perfect for chocolaty celebrations or a sweet treat anytime.
Ingredients
- 200g choc ripple biscuits
- 4 classic waffle cones, coarsely broken
- 100g butter, melted
- 31 treat-sized Cadbury Flake bars, plus extra to serve
- 60ml (1/4 cup) boiling water
- 2 1/2 tsp gelatine powder
- 500g cream cheese, at room temperature, chopped
- 140g (2/3 cup) caster sugar
- 2 tsp vanilla extract
- 300ml carton thickened cream
Instructions
- Step 1: Line the base and sides of a 20cm round springform pan with baking paper.
- Step 2: Place the choc ripple biscuits and broken waffle cones in a food processor. Process until fine crumbs form. Add melted butter and process again until combined. Transfer the mixture to the prepared pan and use a straight-sided glass to press the mixture firmly over the base.
- Step 3: Unwrap 26 of the Flake bars and arrange them vertically around the edge of the pan. Place the pan in the fridge until needed.
- Step 4: In a small heatproof jug, pour boiling water and sprinkle gelatine powder over the top. Whisk with a fork until dissolved and set aside to cool slightly.
- Step 5: In a clean food processor, combine cream cheese, caster sugar, and vanilla extract. Process until smooth. Add the thickened cream and process until well combined. Then add the cooled gelatine mixture and process again to combine. Finally, crumble the remaining Flake bars into the mixture and gently stir through.
- Step 6: Pour the cheesecake mixture into the prepared pan and smooth the top. Refrigerate for at least 6 hours or overnight until fully set.
- Step 7: Carefully remove the cheesecake from the springform pan and place it on a serving plate. Garnish the top with extra Flake bars and serve.
Tips & Variations
- For a firmer base, chill the biscuit and cone crust in the fridge for 15 minutes before adding the Flake bars.
- If you can’t find treat-sized Flake bars, regular bars can be broken to fit the pan’s edges.
- Swap vanilla extract for almond or coffee flavor to add a different twist to the cheesecake filling.
Storage
Store the cheesecake covered in the refrigerator for up to 3 days. To rehydrate the gelatine slightly after refrigerated storage, allow the cheesecake to sit at room temperature for 15 minutes before serving. Avoid freezing, as the texture may be affected.
How to Serve
Serve this delicious recipe with your favorite sides.
FAQs
Can I make this cheesecake without gelatine?
Gelatine is important to set this no-bake cheesecake properly. If you need a vegetarian alternative, consider using agar-agar, but follow package instructions as setting properties differ.
How do I prevent the Flake bars from breaking when handling?
Flake bars are delicate, so unwrap and handle them gently. Arranging them immediately on the chilled base helps keep them upright and intact until the cheesecake sets.
Print
Easy Flake Chocolate No-Bake Cheesecake Recipe
- Total Time: 6 hours 20 minutes
- Yield: 10 servings 1x
Description
This easy no-bake Flake cheesecake features a crunchy chocolate ripple biscuit base combined with coarsely broken waffle cones, creating a unique texture and flavor. Encircled by iconic Cadbury Flake bars and filled with a smooth, creamy cheesecake mixture studded with crumbled Flake, this dessert is a chocoholic’s dream and perfect for impressing guests with minimal effort.
Ingredients
Base
- 200g choc ripple biscuits
- 4 classic waffle cones, coarsely broken
- 100g butter, melted
Cheesecake Filling
- 31 treat-sized Cadbury Flake bars (26 for sides, 5 crumbled into filling and extra to serve)
- 60ml (1/4 cup) boiling water
- 2 1/2 tsp gelatine powder
- 500g cream cheese, at room temperature, chopped
- 140g (2/3 cup) caster sugar
- 2 tsp vanilla extract
- 300ml carton thickened cream
Instructions
- Prepare the pan: Line the base and side of a 20cm round springform pan with baking paper ensuring the paper extends slightly above the rim for easy removal.
- Make the base mixture: Place the choc ripple biscuits and broken waffle cones into a food processor and process until fine crumbs form. Add the melted butter and pulse until well combined. Transfer this crumb mixture to the prepared pan and use a straight-sided glass to press firmly and evenly across the base.
- Arrange Flake bars around pan edge: Unwrap 26 Flake bars and stand them vertically around the inside edge of the prepared pan, pressing slightly into the base mixture. Chill in the fridge to set while preparing filling.
- Dissolve gelatine: Pour boiling water into a small heatproof jug and sprinkle the gelatine powder over the surface. Whisk gently with a fork until fully dissolved. Allow to cool slightly.
- Prepare cheesecake filling: In a clean food processor, combine the cream cheese, caster sugar, and vanilla extract. Process until smooth and creamy. Add the thickened cream and process again until combined smoothly. Pour in the dissolved gelatine mixture and pulse until fully incorporated. Crumble the remaining Flake bars and fold them gently into the cheesecake mixture by hand.
- Assemble and chill: Pour the cheesecake filling into the prepared pan over the set biscuit base and Flake lining. Smooth the top with a spatula and refrigerate for at least 6 hours or overnight until fully set.
- Serve: Carefully remove the cheesecake from the springform pan and place on a serving plate. Decorate the top with extra Flake bars as desired before serving.
Notes
- Ensure cream cheese is at room temperature to avoid lumps in the filling.
- If you don’t find mini Cadbury Flake bars, break down regular Flake bars into smaller portions.
- You can substitute gelatine with a vegetarian alternative like agar-agar, but adjust setting instructions accordingly.
- Press the biscuit base firmly to create a solid foundation that holds the cheesecake well.
- This cheesecake is best served chilled and enjoyed within 2 days for optimal freshness.
- Prep Time: 20 minutes
- Cook Time: 0 minutes
- Category: No-Cook
- Method: No-Cook
- Cuisine: Australian
Keywords: no-bake cheesecake, Cadbury Flake cheesecake, chocolate ripple biscuit base, easy cheesecake dessert, no-bake dessert


