
No Churn Bubblegum Ice Cream Recipe
Introduction
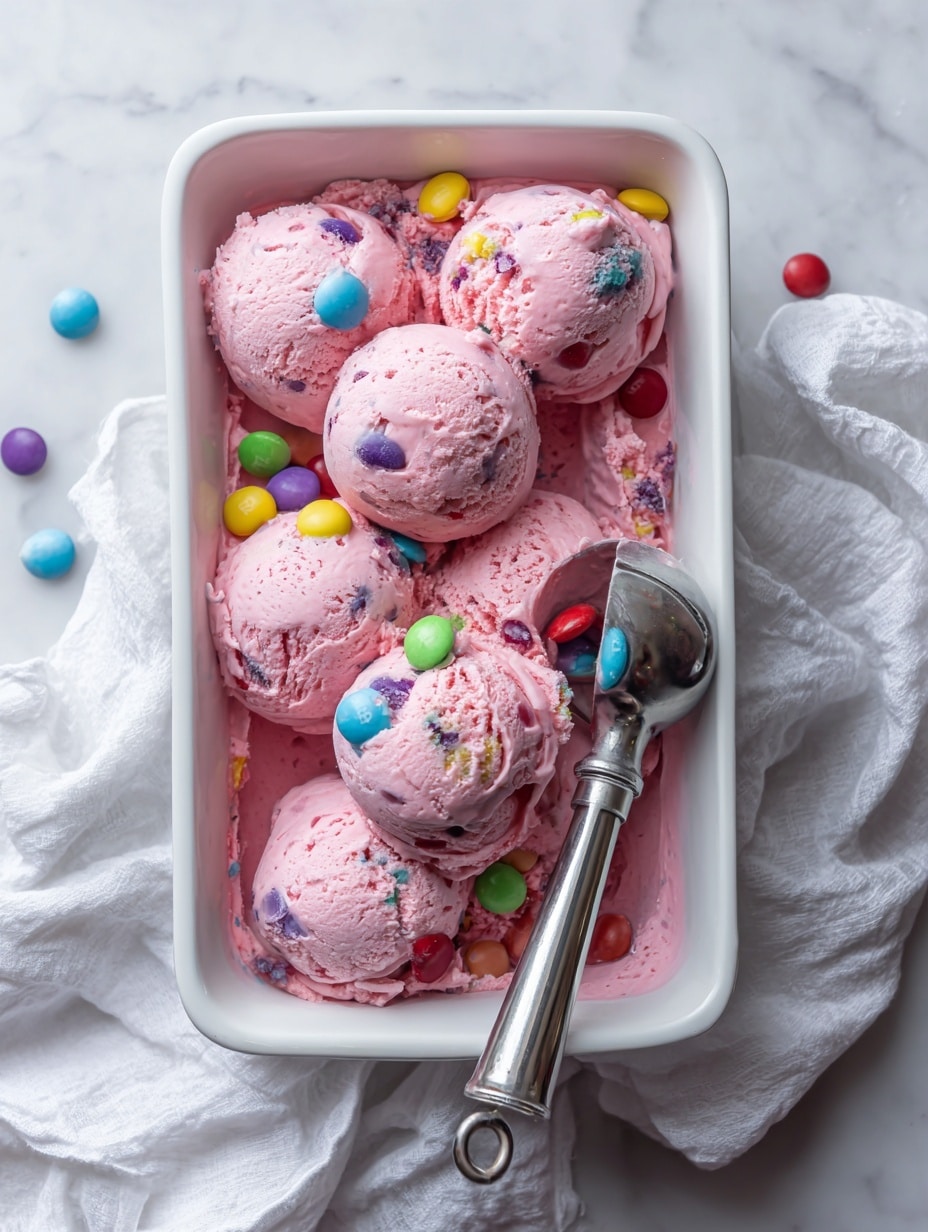
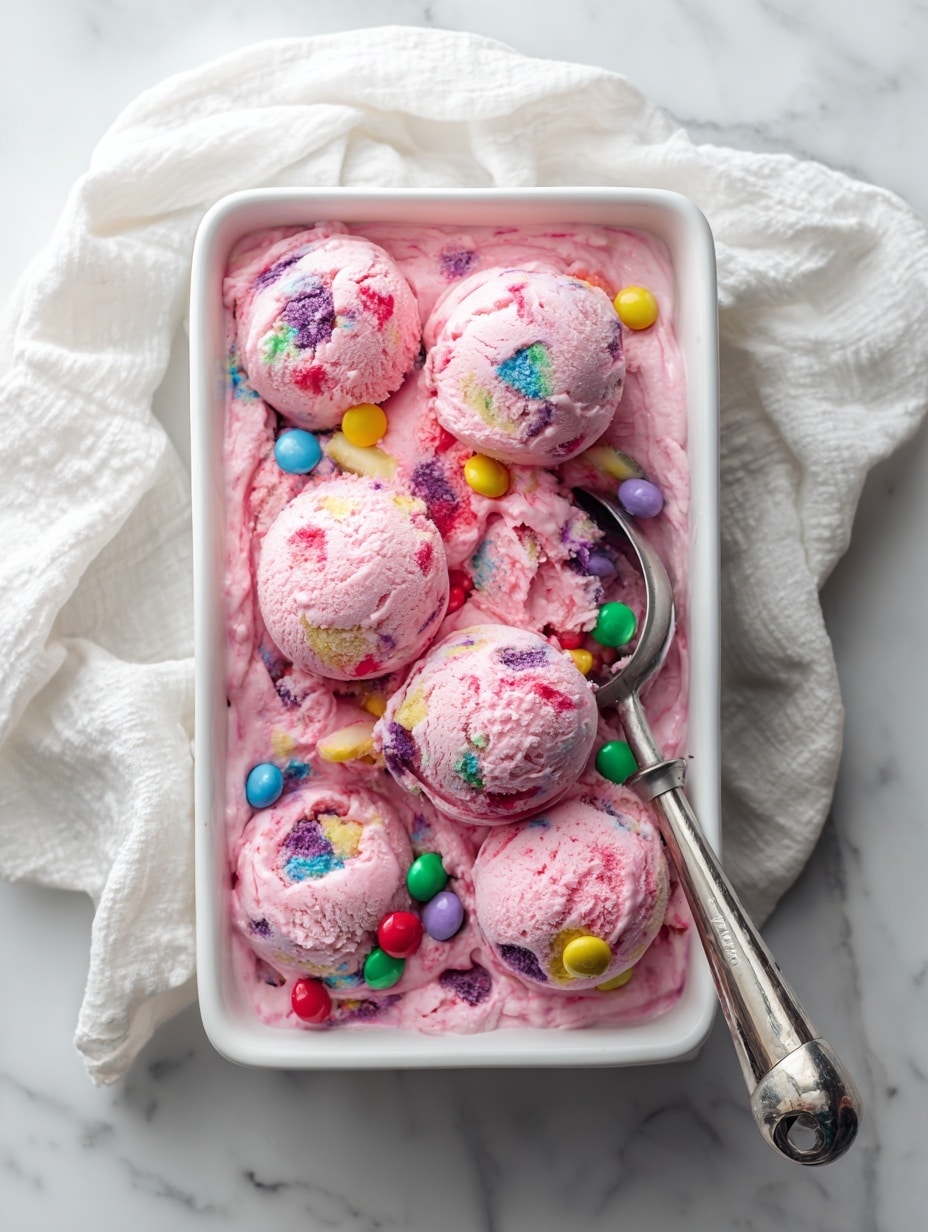
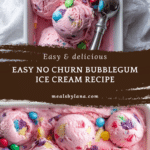
Enjoy the sweet nostalgia of childhood with this easy No Churn Bubblegum Ice Cream recipe. Made with just six simple ingredients and no ice cream maker, it’s a creamy, pink treat perfect for summer days and special occasions.
Ingredients
- 2 cups cold heavy cream
- 1 (14-ounce) can sweetened condensed milk
- 1 teaspoon pure vanilla extract
- 1 teaspoon bubble gum extract
- Pink food coloring, a few drops (optional)
- 1/2 cup mini gumballs
Instructions
- Step 1: In a large mixing bowl, whip the cold heavy cream using a stand mixer fitted with a whisk attachment on medium speed until stiff peaks form, about 3 minutes.
- Step 2: Gently fold the sweetened condensed milk into the whipped cream using a rubber spatula. Add the vanilla and bubble gum extracts, then fold in pink food coloring a few drops at a time until the desired shade is reached.
- Step 3: Fold in the mini gumballs evenly throughout the mixture.
- Step 4: Transfer the ice cream mixture to an airtight container. Cover the surface with plastic wrap, seal, and freeze for at least 3 hours or overnight until firm.
- Step 5: Before serving, remove the ice cream from the freezer about 5 minutes to soften slightly. Scoop and enjoy your homemade bubblegum ice cream!
Tips & Variations
- Chill the mixing bowl and whisk for 15 minutes before whipping to help achieve stiff peaks faster.
- Fold ingredients gently to keep the whipped cream light and airy.
- Use pure bubble gum extract and start with a small amount, adding more to taste.
- Cut larger gumballs into halves or quarters to distribute chewiness evenly.
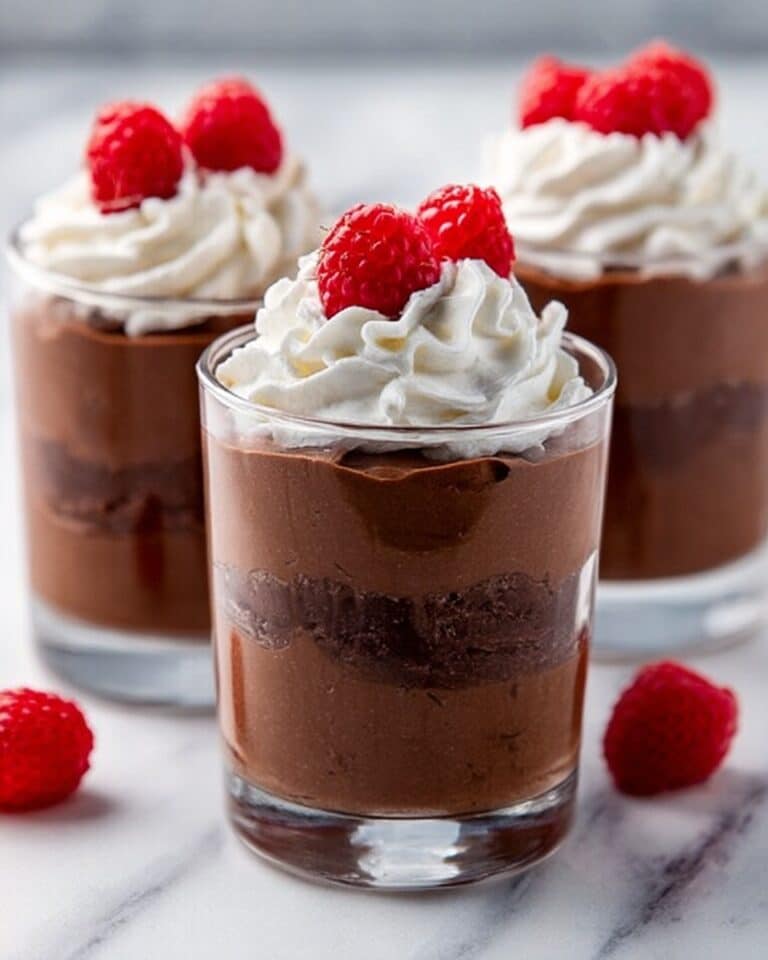
- Try adding a swirl of strawberry or raspberry puree for a fruity twist.
- Mix in crushed cookies, brownie pieces, or rainbow sprinkles to change texture and color.
- For a fun twist, use blue food coloring and cotton candy flavor instead of bubble gum extract.
- To prevent ice crystals, cover the ice cream surface with plastic wrap before freezing.
Storage
Store this ice cream in an airtight container with plastic wrap pressed on the surface to prevent freezer burn. Keep it in the freezer for up to two weeks. Remove from the freezer about 5 minutes before scooping to soften slightly. Avoid refreezing melted ice cream to maintain texture.
How to Serve
Serve this delicious recipe with your favorite sides.
FAQs
Can I refreeze the ice cream if it melts?
Refreezing melted ice cream can create ice crystals and a grainy texture, so it’s best to enjoy it after the initial freeze.
Is it okay to swallow the bubble gum in bubble gum ice cream?
Yes, swallowing the bubble gum won’t harm you, but whether to chew or swallow is a personal choice.
What if I don’t have a stand mixer?
You can use a hand mixer or whisk to whip the heavy cream, though it may take a bit longer. Ensure the cream is very cold for best results.
Print
No Churn Bubblegum Ice Cream Recipe
- Total Time: 3 hours 10 minutes (including freeze time)
- Yield: 6–8 servings 1x
- Diet: Vegetarian
Description
Enjoy the sweet nostalgia of childhood with this easy No Churn Bubblegum Ice Cream recipe. Made with six simple ingredients including heavy cream, sweetened condensed milk, and bubblegum extract, this creamy pink treat captures the classic bubblegum flavor without the need for an ice cream maker. Perfect for summer gatherings or as a fun dessert, this no-churn ice cream is simple to prepare, customizable, and deliciously creamy.
Ingredients
Ice Cream Base
- 2 cups cold heavy cream
- 1 (14 oz) can sweetened condensed milk
- 1 teaspoon pure vanilla extract
- 1 teaspoon bubble gum extract
- 3–6 drops pink food coloring (optional)
Mix-ins
- 1/2 cup mini gumballs (cut in halves or quarters if large)
Instructions
- Whip the heavy cream: Add cold heavy cream into the bowl of a stand mixer fitted with the whisk attachment. Whip the cream on medium speed until stiff peaks form, which will take about 3 minutes. This creates the light, airy texture for the ice cream.
- Fold in sweetened condensed milk and extracts: Gently pour in the sweetened condensed milk and fold it in by hand using a rubber spatula to maintain the airiness of the whipped cream. Then fold in the vanilla and bubble gum extracts until well combined.
- Add color and mix-ins: Add a few drops of pink food coloring gradually until you reach your desired pink shade. Fold in the mini gumballs evenly throughout the mixture to add chewy texture and colorful pops.
- Freeze before serving: Transfer the ice cream mixture into an airtight container, cover the surface with plastic wrap to prevent ice crystals, and freeze for at least 3 hours or preferably overnight until firm.
- Serve and enjoy: Remove the ice cream from the freezer about 5 minutes before serving to make scooping easier. Use an ice cream scoop, cleaning it with hot water between scoops for smooth serving. Serve in cones or bowls, optionally topped with your favorite toppings like additional gumballs or sprinkles.
Notes
- Chill the mixing bowl and whisk attachment in the freezer for 15 minutes before whipping to improve volume and speed.
- Whip heavy cream to stiff peaks for best texture; soft peaks make it less airy.
- Fold ingredients gently to preserve air incorporated in the whipped cream.
- Use pure bubble gum extract and start with less; the flavor is strong and can be adjusted to taste.
- Add pink food coloring one drop at a time to avoid oversaturating the color.
- Cut gumballs into smaller pieces if large for better distribution and easier eating.
- Cover the ice cream surface with plastic wrap before freezing to prevent ice crystals.
- Allow ice cream to soften slightly before scooping for easier serving.
- Clean ice cream scoop between uses with hot water to avoid sticking.
- Store in an airtight container and consume within two weeks for best quality.
- Prep Time: 10 minutes
- Cook Time: 0 minutes
- Category: Dessert
- Method: No-Cook
- Cuisine: American
Keywords: No churn ice cream, Bubblegum ice cream, Homemade ice cream, Easy ice cream recipe, No ice cream maker dessert, Pink ice cream, Summer dessert