
Stabilized Whipped Cream Recipe
Introduction
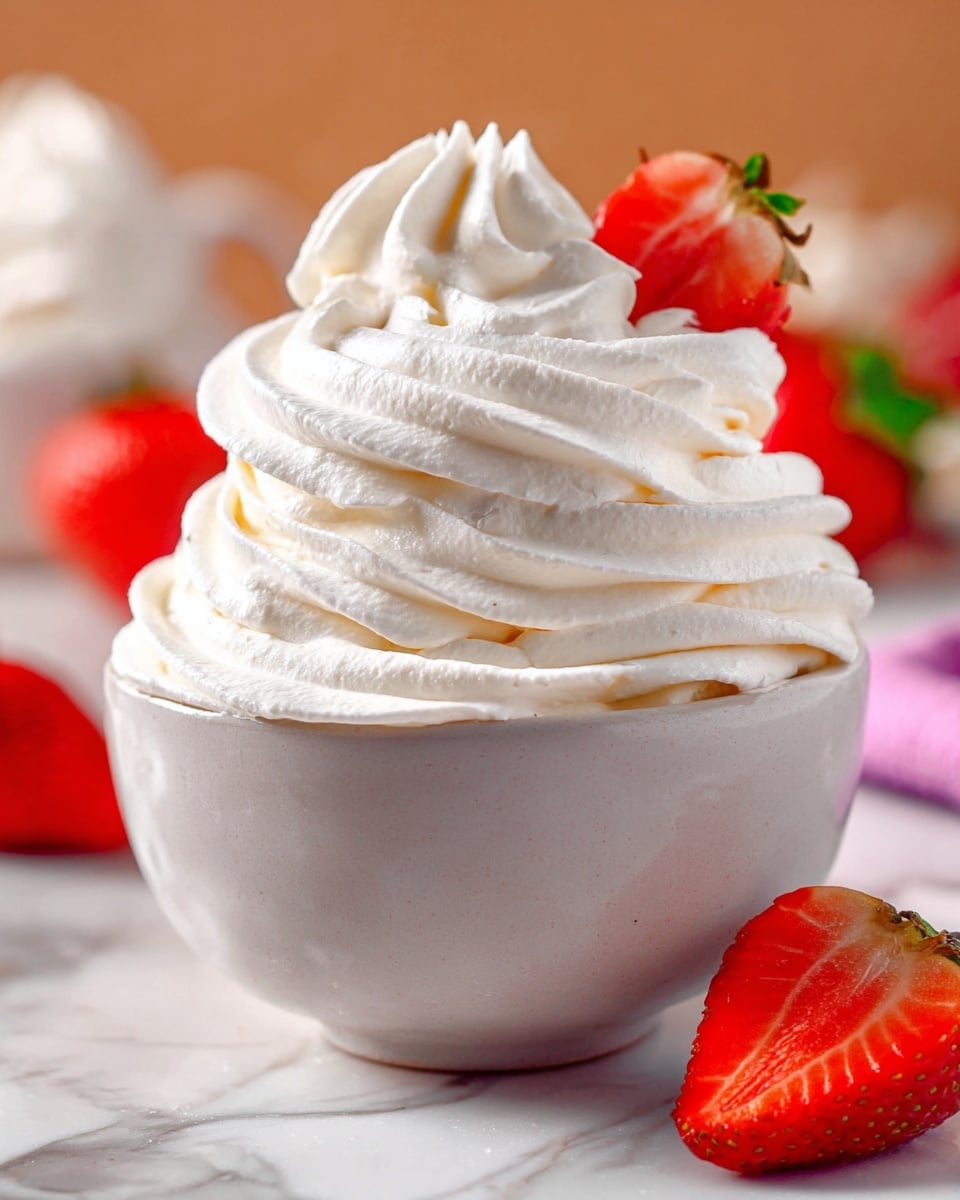
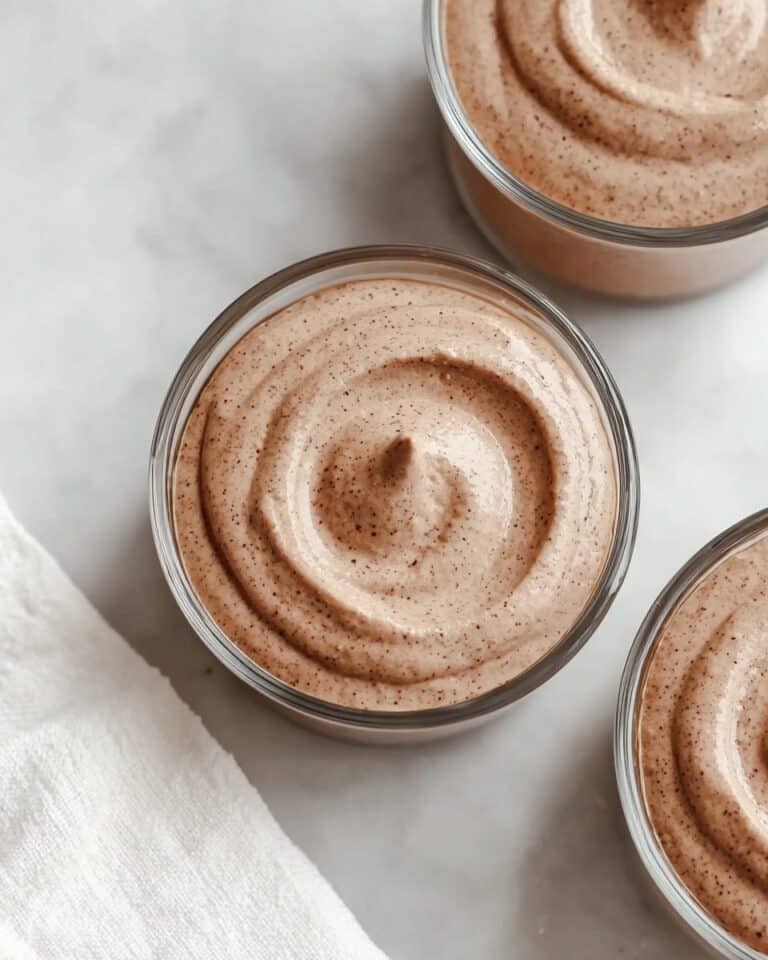
Stabilized whipped cream is a fantastic way to enjoy fluffy, creamy topping that holds its shape longer than regular whipped cream. Perfect for cakes, pies, and desserts, this method uses gelatin to keep your cream firm and fresh.
Ingredients
- 1 teaspoon powdered gelatin (unflavored)
- 4 teaspoons cold water
- 1 1/2 cups heavy whipping cream (chilled)
- 4 tablespoons powdered sugar
- 1/4 teaspoon vanilla extract (optional)
Instructions
- Step 1: Place a large glass or metal mixing bowl and the mixer beater blades in the freezer for 5 to 10 minutes to chill.
- Step 2: In a small bowl, add the cold water and sprinkle the gelatin on top. Let it stand for 5 minutes to bloom.
- Step 3: Heat the gelatin mixture in the microwave for 10 seconds, then whisk until fully dissolved. Allow it to cool slightly for about 2 minutes without letting it set.
- Step 4: Pour the chilled heavy cream into the cold mixing bowl. Add powdered sugar and vanilla extract if using.
- Step 5: Begin whipping the cream at medium-low speed until it thickens slightly, about 1 minute.
- Step 6: Slowly pour the gelatin mixture into the cream while continuing to whip. Increase speed to high and whip until stiff peaks form and the cream is firm.
Tips & Variations
- For a flavored variation, substitute vanilla extract with almond or peppermint extract.
- Ensure the cream and equipment are well chilled to achieve better volume and stability.
- If gelatin sets too quickly, gently warm it again to liquefy before adding to cream.
Storage
Store stabilized whipped cream in an airtight container in the refrigerator for up to 3 days. If it softens, briefly whip it again by hand to restore firmness before serving.
How to Serve
Serve this delicious recipe with your favorite sides.
FAQs
Can I use powdered gelatin substitutes?
Yes, gelatin sheets can be used instead. Soften the sheets in cold water, then dissolve in warm water before adding to the cream.
Will stabilized whipped cream hold at room temperature?
It can hold longer than regular whipped cream but should not be left out for more than 2 hours to ensure safety and quality.
Print
Stabilized Whipped Cream Recipe
- Total Time: 12 minutes
- Yield: 3 servings 1x
- Diet: Gluten Free
Description
This Stabilized Whipped Cream recipe creates a light, fluffy, and long-lasting whipped topping perfect for desserts or garnishes. Using unflavored gelatin helps maintain the cream’s structure, preventing it from deflating or weeping, making it ideal for preparing ahead or for desserts that require extended holding time.
Ingredients
Gelatin Mixture
- 1 teaspoon powdered gelatin (unflavored)
- 4 teaspoons cold water
Whipped Cream
- 1 1/2 cup heavy whipping cream (chilled)
- 4 tablespoons powdered sugar
- 1/4 teaspoon vanilla extract (optional)
Instructions
- Chill: Place a large glass or metal mixing bowl and the mixer beater blades in the freezer for 5 to 10 minutes to ensure everything is cold, which helps the cream whip better.
- Bloom Gelatin: Sprinkle the gelatin over 4 teaspoons of cold water in a small bowl and allow it to stand for 5 minutes so it can bloom and absorb the water fully.
- Heat Gelatin: Microwave the bloomed gelatin for 10 seconds, then whisk until it is fully dissolved. Let it cool slightly for about 2 minutes but avoid letting it set, as it should remain liquid for incorporating into the cream.
- Combine Cream Ingredients: Pour the chilled heavy whipping cream into the chilled mixing bowl. Add the powdered sugar and vanilla extract if using.
- Start Whipping: Using a mixer on medium-low speed, whip the cream mixture until it just begins to thicken, approximately 1 minute.
- Add Gelatin: Slowly stream the cooled gelatin mixture into the cream while continuing to whip. Increase the mixer speed to high and whip until stiff peaks form and the whipped cream is stabilized.
Notes
- Keep all equipment cold to help the cream whip faster and achieve better volume.
- Do not overheat the gelatin as it can set quickly or become tough when cooled.
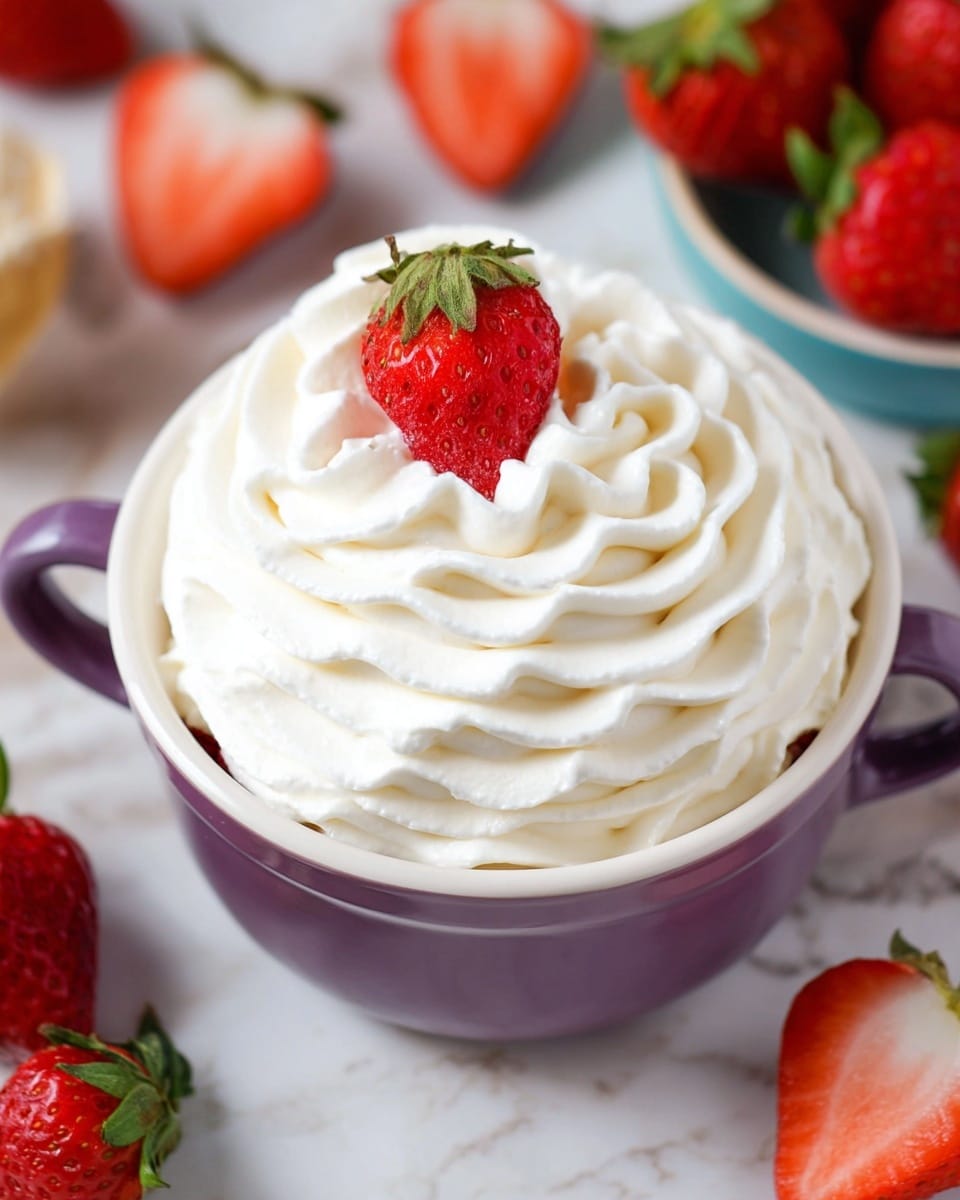
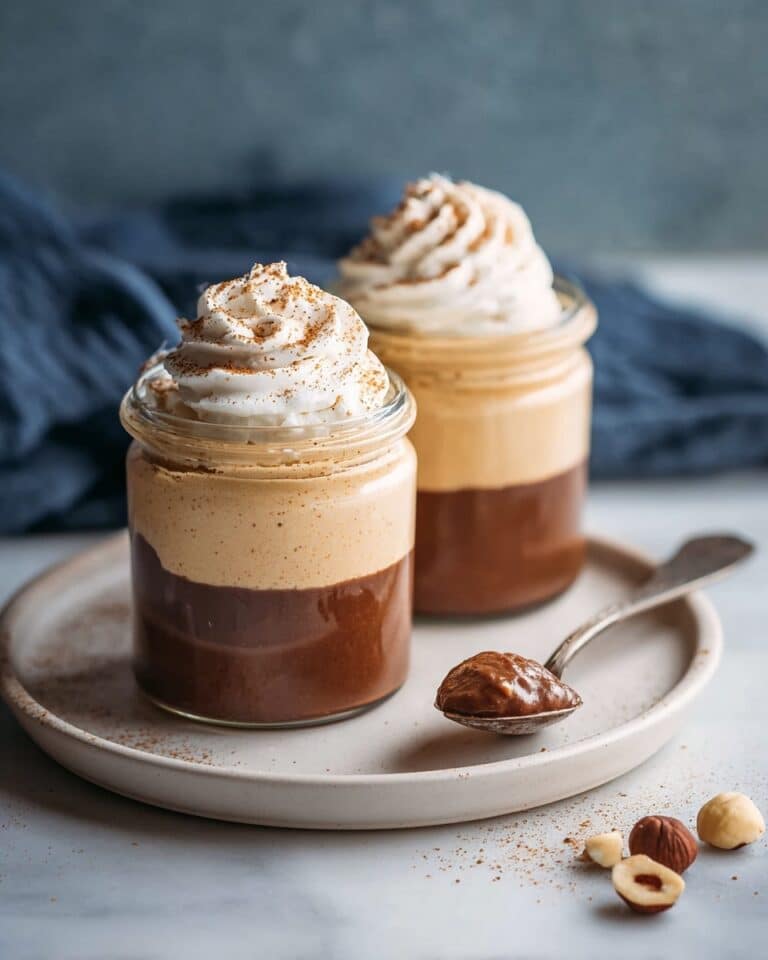
- The stabilized whipped cream holds its shape longer than regular whipped cream, making it perfect for decorating cakes, pies, or serving with fruit.
- Store any leftovers refrigerated and use within 1-2 days for best texture.
- Prep Time: 10 minutes
- Cook Time: 2 minutes
- Category: Dessert Topping
- Method: Stovetop
- Cuisine: American
Keywords: stabilized whipped cream, whipped cream recipe, gelatin whipped cream, dessert topping, easy whipped cream

