
The BEST Dutch Oven Bread Recipe
Introduction
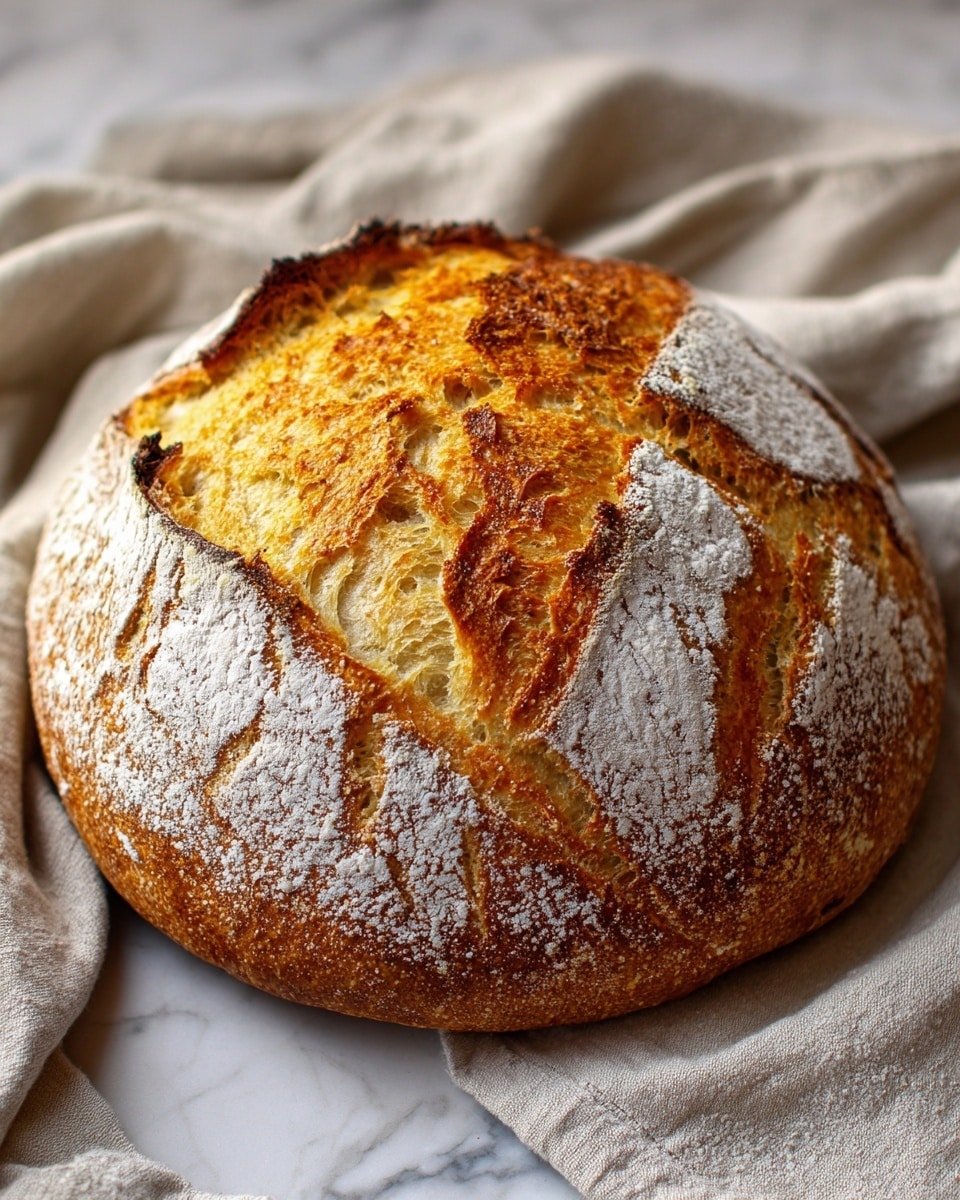
Making homemade bread in a Dutch oven brings bakery-quality crust and texture right to your kitchen. This simple recipe yields a golden, crusty loaf with a soft, airy crumb—perfect for sandwiches or with just butter.
Ingredients
- 500 g strong white bread flour
- 1½ teaspoons salt
- 7 g (1 packet) active dried yeast
- 350 ml warm water (around 40°C / 104°F)
- 1 tablespoon honey
- Extra flour (for dusting)
Instructions
- Step 1: In a large mixing bowl, combine the flour, salt, and yeast. In a jug, mix the warm water with the honey until dissolved. Pour the liquid into the dry ingredients and mix with a wooden spoon or your hands until a rough, shaggy dough forms.
- Step 2: Turn the dough onto a lightly floured surface and knead for 10 minutes until smooth and elastic. The dough should spring back slightly when pressed.
- Step 3: Place the dough in a clean, lightly oiled bowl. Cover with a damp tea towel or plastic wrap and let it rise in a warm place for 1 to 1½ hours, or until doubled in size.
- Step 4: Punch down the dough to release air. Turn it onto a floured surface and shape it into a tight round ball by folding the edges into the center. Place it seam-side down on a piece of baking parchment.
- Step 5: Loosely cover the dough with a tea towel and let it rise again for 30–45 minutes, or until puffy and slightly risen. Meanwhile, preheat your oven to 220°C (200°C fan) / 425°F and place your Dutch oven with the lid on inside to heat up.
- Step 6: Carefully remove the Dutch oven from the oven. Lift the dough using the parchment paper and place it inside the pot. Cover with the lid and bake for 25 minutes.
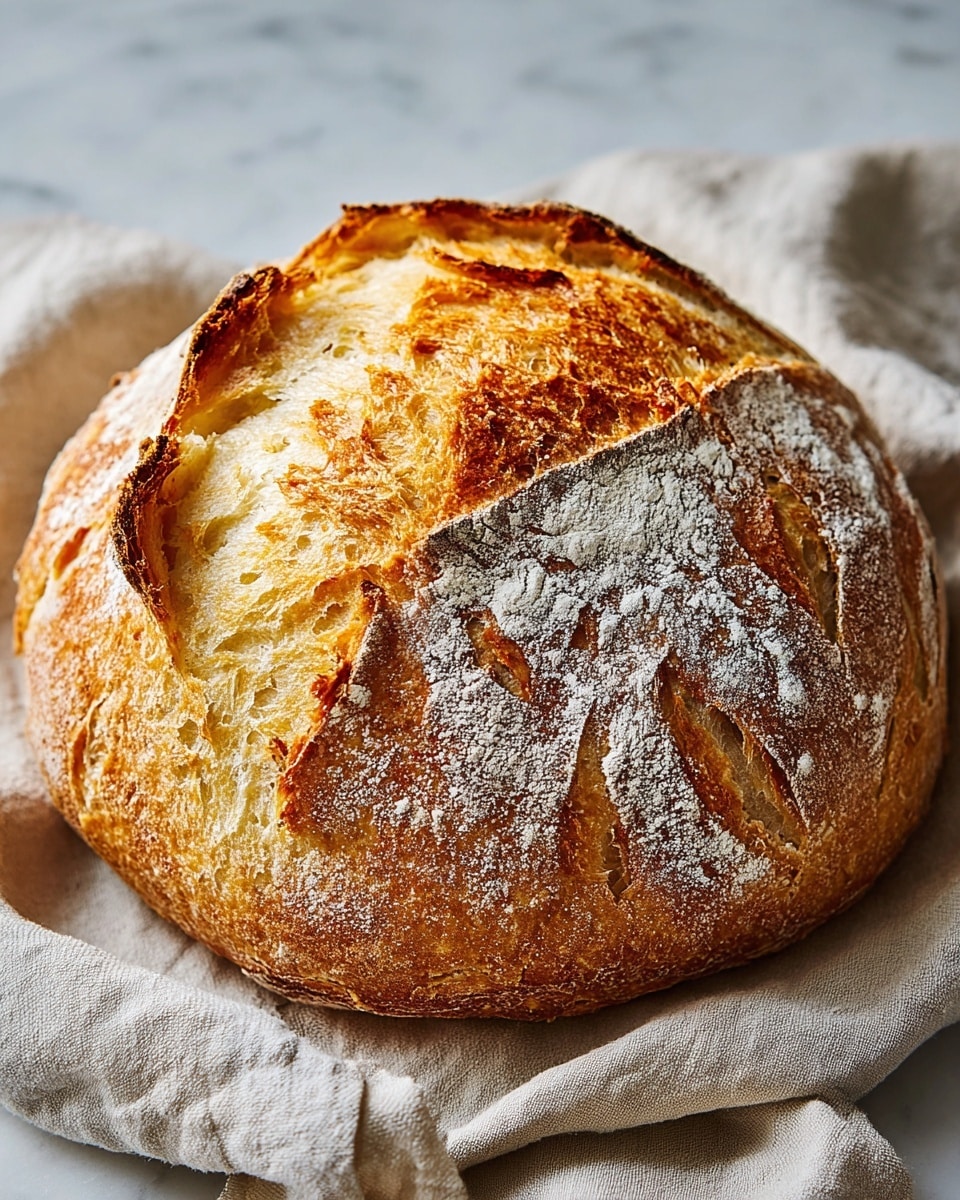
- Step 7: Remove the lid and bake for another 15–20 minutes, or until the crust is deep golden brown and the loaf sounds hollow when tapped.
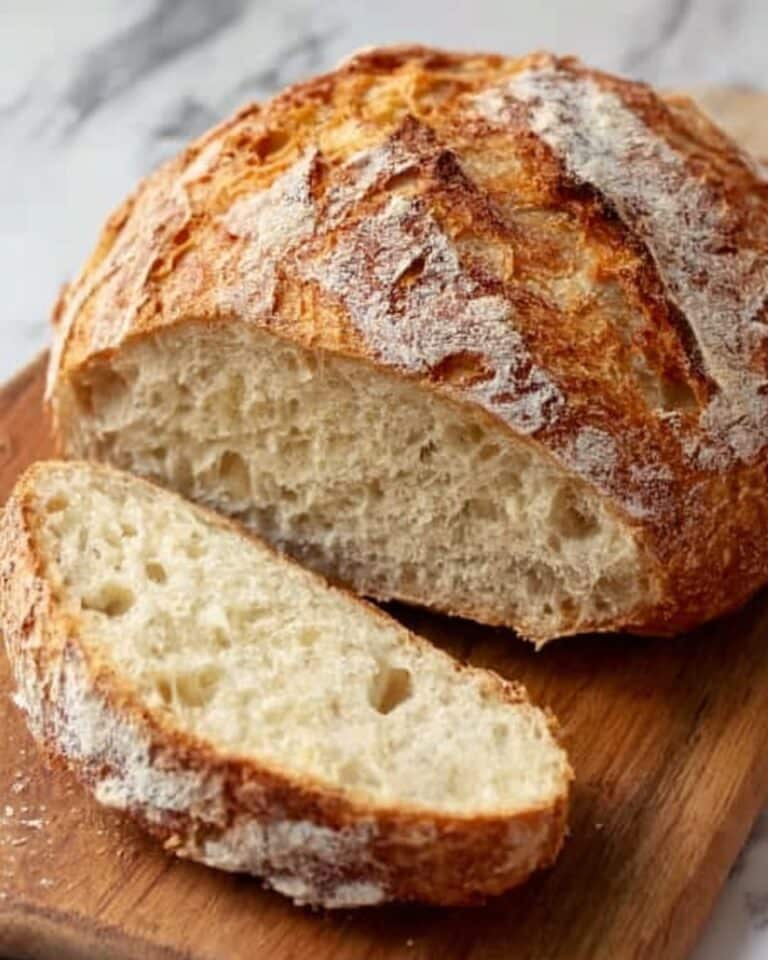
- Step 8: Remove the bread from the Dutch oven and place it on a wire rack. Let it cool for at least 30 minutes before slicing.
Tips & Variations
- Use bread flour for better gluten development and structure.
- Try adding herbs, garlic, or olives to the dough for extra flavor.
- For a crispier crust, avoid covering the bread while it cools.
- If you don’t have a Dutch oven, a heavy oven-safe pot with a lid can work.
Storage
Store the bread in a paper bag or wrapped loosely in a kitchen towel at room temperature for up to 2 days. For longer storage, slice and freeze the bread, then toast or warm slices directly from frozen.
How to Serve
Serve this delicious recipe with your favorite sides.
FAQs
Can I use instant yeast instead of active dried yeast?
Yes, you can substitute instant yeast; just mix it directly with the dry ingredients without proofing in water first.
Why does the bread need to rest before slicing?
Cooling allows the interior crumb to set and prevents it from becoming gummy or tearing when cut.
Print
The BEST Dutch Oven Bread Recipe
- Total Time: 2 hours 45 minutes
- Yield: 1 medium loaf 1x
Description
This recipe for the BEST Dutch Oven Bread produces a crusty, golden loaf with a soft, elastic crumb using simple ingredients and a traditional baking method in a Dutch oven. Perfect for homemade artisan-style bread lovers, it guides you through mixing, kneading, two rises, and baking to perfection.
Ingredients
Dry Ingredients
- 500 g strong white bread flour
- 1½ teaspoons salt
- 7 g (1 packet) active dried yeast
- Extra flour (for dusting)
Wet Ingredients
- 350 ml warm water (around 40°C / 104°F)
- 1 tablespoon honey
Instructions
- Mix the Dough: In a large mixing bowl, combine the flour, salt, and yeast. In a separate jug, mix the warm water with the honey until dissolved. Pour the liquid into the dry ingredients and mix with a wooden spoon or your hands until a rough, shaggy dough forms.
- Knead the Dough: Turn the dough out onto a lightly floured surface and knead for 10 minutes until smooth and elastic. The dough should spring back slightly when pressed.
- First Rise (Bulk Fermentation): Place the dough in a clean, lightly oiled bowl. Cover with a damp tea towel or plastic wrap and let it rise in a warm place for 1 to 1½ hours, or until doubled in size.
- Shape the Dough: Once risen, punch down the dough to release air. Turn it onto a floured surface and shape it into a tight round ball by folding the edges into the center. Place it seam-side down on a piece of baking parchment.
- Second Rise (Proofing): Loosely cover the dough with a tea towel and let it rise again for 30–45 minutes, or until puffy and slightly risen. Meanwhile, preheat your oven to 220°C (200°C fan) / 425°F and place your Dutch oven with the lid on inside to heat up.
- Bake: Once the dough has risen, carefully remove the Dutch oven from the oven. Lift the dough using the parchment paper and place it inside the pot. Cover with the lid and bake for 25 minutes. Then remove the lid and bake for another 15–20 minutes, or until the crust is deep golden brown and the loaf sounds hollow when tapped.
- Cool: Remove the bread from the Dutch oven and place it on a wire rack. Let it cool for at least 30 minutes before slicing.
Notes
- Use strong bread flour for the best gluten development and structure.
- Ensure the water is warm but not hot to activate the yeast properly without killing it.
- Kneading is key for developing gluten and achieving a good crumb texture.
- Let the bread cool completely before slicing to avoid a gummy interior.
- Preheating the Dutch oven ensures a steam environment for a crusty exterior.
- Prep Time: 15 minutes
- Cook Time: 45 minutes
- Category: Bread
- Method: Baking
- Cuisine: Western
Keywords: Dutch oven bread, artisan bread, homemade bread, crusty bread, baking bread, bread recipe


